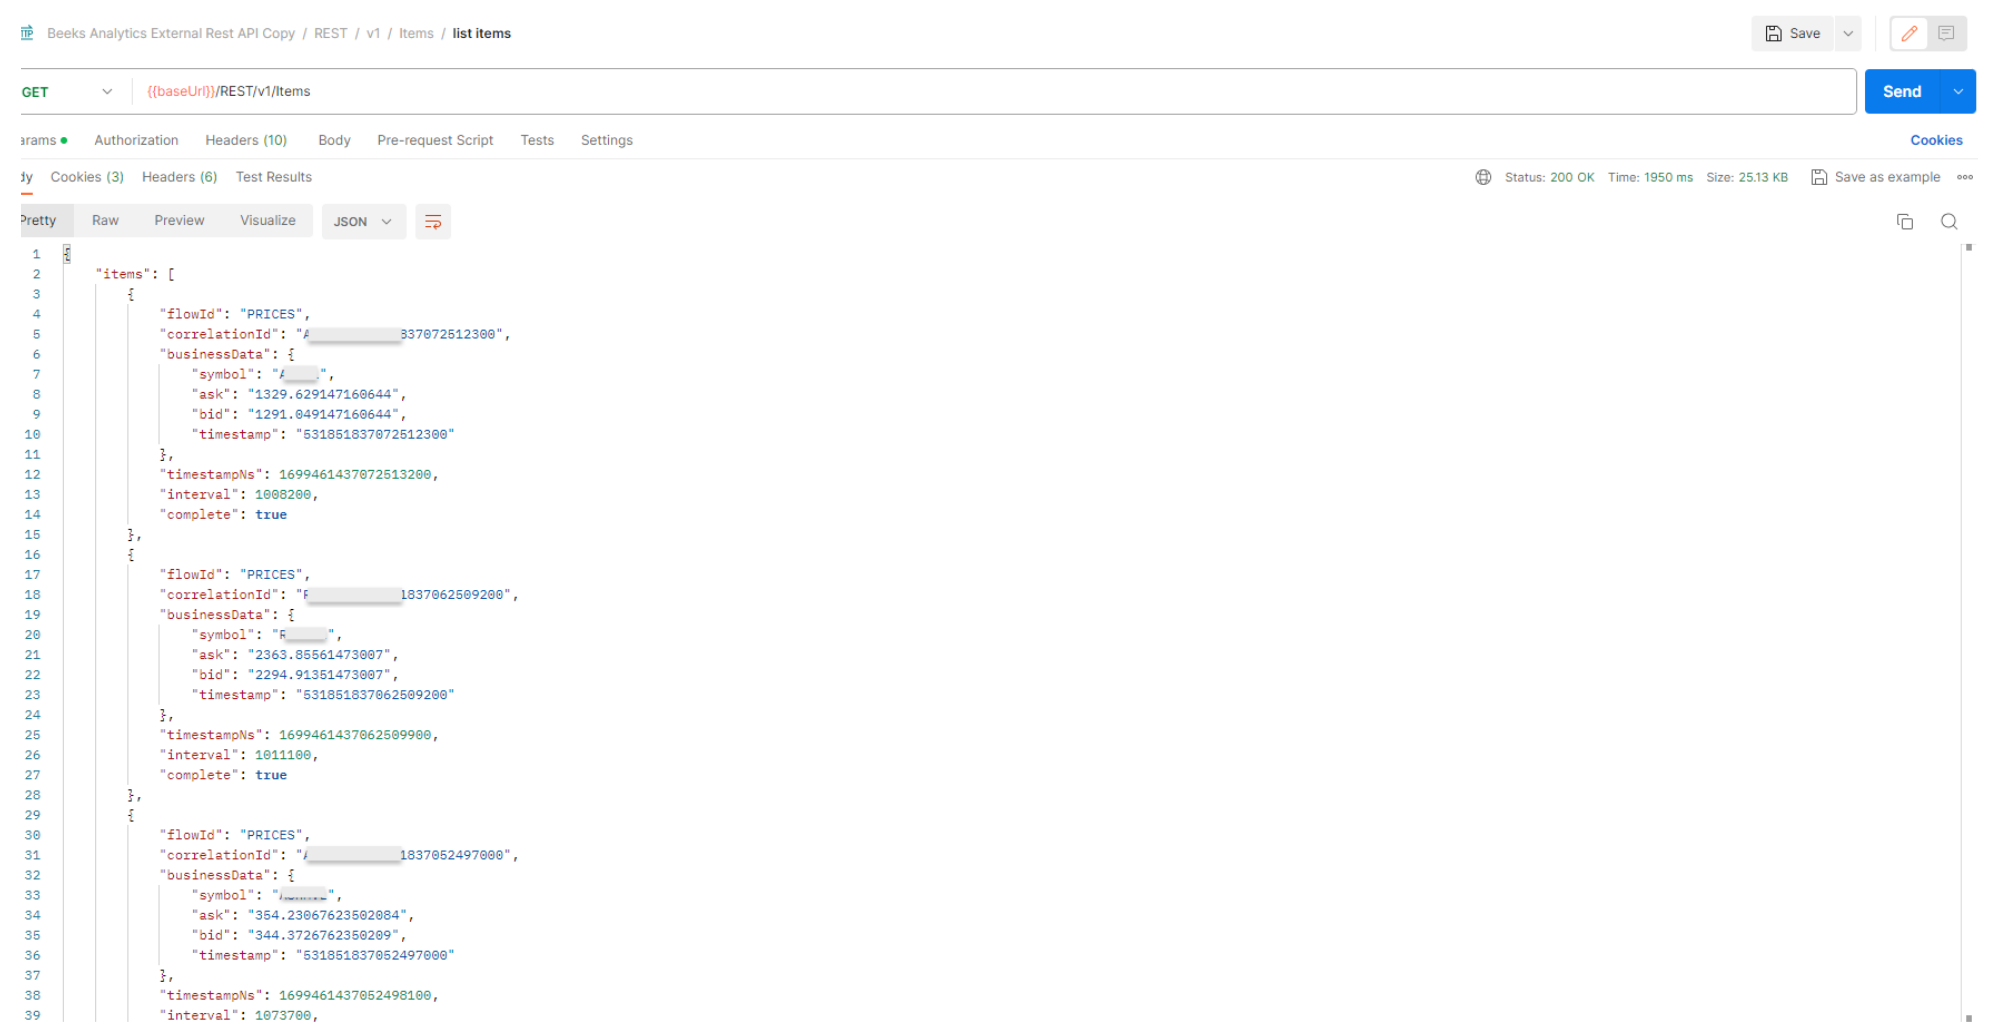
To create a query to build the Item trace, you must first get a unique identifier to reference the Item you want to inspect. The unique identifier we use is a combination of the correlationID and flowID:
correlationID is a configurable key pulled from Agent Event business attibute.
flowID indicates which flow it came from.
To get these IDs, first retrieve a list of Items (without passing in any parameters):
Step 1. GET Items
See {swagger_link_to_latest_version}/items/getItems for a full description of this query.
This lists the Items and for each Item, provides the correlationID and flowID.
The Items endpoint supports a long list of query parameters that enable you to refine the query results. Now that you've retrieved the list of Items, the next step is to rerun the same query but this time pass in query parameters to get the information you're interested in.
Pass in the correlationId and flowId for a specific Item to return more information about an Item.
If you’re interested in all Items that were processed at a specific time, you can also set a timeframe for when the Items were processed.
If you want to see all Items that were on a specific flow such as client orders or prices, use only the flowID.
If you’d like to see only Items that contain a certain interval, pass in the Interval ID (Intervals contain data about the start and end of an event between two Agents).
To view Items that are indirectly associated with an Item, pass in the associationDepth.
For example, if one or more prices drive a quote which causes a trade and we are viewing the trade, then the associated quote is a 1st level association, whilst the prices are a 2nd level association.
A visual example of 2nd-level association:
In this further example, the Item trace uses Agent Events, Intervals, and Associations to build the trace view by constructing a data frame which could be used by the Grafana trace view (or by other data presentation tools) to accept and displays the presented data. The Agent Events and Intervals reference each other and can be mapped out to inspect the Events that contributed to the business object as it passed through the monitored system. The AgentID indicates the configured point in the flow to which the specific Agent Event was injected, i.e., the point in the monitored flow at which this event was observed.
The Agent Events in this example are:
"agentId": "FIXIF_IN"
"agentId": "OMS_IN"
"agentId": "EMS_IN"
"agentId": "EMS_OUT"
"agentId": "OMS_OUT"
"agentId": "FIXIF_OUT
Below is the set of intervals that contain data between each Agent Event. This helps us map which event pairs to match, and enables us to identify their duration. Note the intervals contain a start and an end Agent ID.
"startAgentEvent": "agentId": "FIXIF_IN" "endAgentEvent": "agentId": "OMS_IN"
"startAgentEvent": "agentId": "FIXIF_IN" "endAgentEvent": "agentId": "FIXIF_OUT"
"startAgentEvent": "agentId": "EMS_OUT" "endAgentEvent": "agentId": "FIXIF_OUT"
"startAgentEvent": "agentId": "OMS_OUT" "endAgentEvent": "endAgentId": "FIXIF_OUT"
"startAgentEvent": "agentId": "EMS_OUT" "endAgentEvent": "endAgentId": "OMS_OUT"
"startAgentEvent": "agentId": "OMS_IN" "endAgentEvent": "endAgentId": "OMS_OUT"
etc..
This set of Agent Events and Intervals, and their timestamps, enables us to map out a trace of the Events that occurred for a particular business object and the time for each interval.


